No-Fuss Homemade Pita: Simple Recipe for Puffy Perfection
Imagine the warm, yeasty aroma filling your kitchen, followed by the sight of golden-brown discs puffing up like magic. That's the undeniable joy of making homemade pita bread, and trust us, it’s far simpler than you might think! Forget the dry, bland, store-bought versions; this easy homemade pita bread recipe will deliver soft, fluffy, and undeniably superior pita that will elevate any meal.
Inspired by culinary experts like Chef Richard, we've refined this process to be incredibly approachable. You won't need fancy equipment, nor hours of arduous kneading. Just a few basic ingredients, a little patience, and a willingness to create something truly special. Your quest for the perfect pita ends here!
Why Embrace Homemade Pita? The Taste of Authenticity
There’s a profound difference between a pita bought off a shelf and one pulled fresh from your oven or skillet. As someone who grew up savoring authentic, fresh pita from bustling bakeries, I can attest that the homemade experience is unparalleled. Fresh pita is more than just a bread; it's a sensory delight. It boasts an incredible softness, a delicate chewiness, and a subtle yeast-infused flavor that simply can't be replicated in mass-produced alternatives. Plus, you control every ingredient, ensuring a wholesome, preservative-free treat.
Making your own pita is not just about superior taste; it's also a surprisingly rewarding culinary adventure. The process, from activating the yeast to watching the dough transform, is therapeutic and fun. It's a fundamental bread that forms the foundation for countless delicious meals, and mastering it opens up a world of culinary possibilities right in your own kitchen.
Unveiling the Simple Ingredients for Perfect Pita
The beauty of this easy homemade pita bread recipe lies in its simplicity. You likely have most, if not all, of these ingredients in your pantry right now. Each component plays a vital role in achieving that coveted soft and puffy texture.
- Flour: While all-purpose flour works wonderfully, we highly recommend using bread flour for an extra-chewy texture, which is characteristic of the best pitas. Whole wheat flour can also be used for a nuttier, denser pita, but you might need to adjust the water slightly.
- Instant Yeast: Our go-to for its convenience, instant yeast blends directly into the dry ingredients without prior proofing. However, if you only have active dry yeast, don't worry! You'll just need to activate it first by dissolving it in warm water with a pinch of sugar for 5-10 minutes until frothy, then proceed with the recipe. Yeast is the magical ingredient responsible for the dough's rise and the bread's airy structure.
- Sugar: A small amount of sugar acts as food for the yeast, encouraging it to activate and multiply, which contributes to a faster rise and a beautiful golden crust. It also adds a subtle sweetness that balances the savory notes.
- Salt: Essential for flavor, salt enhances the taste of the bread and also helps to regulate the yeast activity, ensuring a controlled rise and better dough structure.
- Warm Water: The temperature of your water is crucial for activating the yeast. Aim for lukewarm water, between 105-115°F (40-46°C). Too cold, and the yeast won't activate; too hot, and you'll kill it.
- Olive Oil (Optional, but Recommended): A touch of olive oil in the dough adds richness and pliability, making the pita softer and easier to handle. It also contributes to a more tender crumb.
Your Step-by-Step Guide to Puffy Pita Perfection
Let's dive into the practical steps for creating your very own perfect pita bread. Each stage is designed to be straightforward and rewarding.
Activating the Yeast: The Spark of Life
Even with instant yeast, a quick activation step ensures your dough will rise beautifully. In a large mixing bowl, combine your warm water (remember, 105-115°F or 40-46°C) and a pinch of sugar. Sprinkle the instant yeast over the top. Give it a gentle stir and let it sit for about 5-10 minutes. You should see a frothy layer develop on the surface, indicating the yeast is active and ready to work its magic. If you don't see bubbles, your yeast might be old or the water temperature was off, and it's best to start with a fresh batch.
Mixing & Kneading (Minimal Effort!)
Once your yeast is bubbling, stir in the remaining sugar, salt, and olive oil (if using). Gradually add your flour, mixing with a wooden spoon or a stand mixer with a dough hook until a shaggy dough forms. At this point, turn the dough out onto a lightly floured surface and knead gently for about 5-7 minutes. The goal isn't vigorous kneading, but rather to bring the dough together until it's smooth, elastic, and no longer overly sticky. It should feel soft and pliable.
Form the dough into a ball, place it in a lightly oiled bowl, turning once to coat. Cover the bowl tightly with plastic wrap or a clean kitchen towel and let it rise in a warm spot for about 1 to 1.5 hours, or until it has visibly doubled in size. Patience here is key; a proper rise is fundamental to a fluffy pita.
Shaping the Rounds: Preserving the Puff
Once your dough has delightfully risen, gently punch it down to release the air. Turn it out onto a lightly floured surface and divide it into 6-8 equal portions. Roll each portion into a smooth, tight ball. Now for a crucial tip: instead of aggressively using a rolling pin, flatten each ball into a 6-7 inch disk primarily using your fingers. This gentle method helps to preserve as many precious air bubbles as possible within the dough, which are essential for that characteristic puff. If you must use a rolling pin, use it very lightly. Arrange the flattened disks on a lightly floured surface, cover them with a towel, and let them rest for another 10-15 minutes. This brief rest helps the dough relax, making it easier to cook and promoting a better puff.
Cooking Your Pita: Skillet vs. Oven
This is where the magic truly happens! Depending on your preferred outcome – a soft, pliable flatbread or a dramatically puffed pocket – you have two excellent cooking methods. For a deeper dive into these options, check out our guide on Skillet vs. Oven: Your Guide to Perfect Homemade Pita Bread.
Option 1: The Skillet Method for Soft, Chewy Pita
For incredibly soft and fluffy pita that resembles a delicious flatbread, the stovetop skillet method is fantastic. Heat a heavy-bottomed skillet (cast iron works beautifully) over medium-high heat. Add a tiny bit of avocado or olive oil and spread it around. Place one pita disk in the hot skillet. Cook for about 1-2 minutes until you see bubbles forming on the surface and the underside is lightly golden. Flip the pita and cook for another 1-2 minutes until it's blistered, lightly browned, and cooked through. It might puff slightly, but it will mostly remain flat and wonderfully tender. Transfer the cooked pita to a plate and cover with a clean towel to keep it warm and soft while you cook the rest.
Option 2: The Oven Method for Iconic Pita Pockets
If you're aiming for that classic pita pocket perfect for stuffing, the oven is your best friend. The secret here is a scorching hot oven! Preheat your oven to a blazing 475°F (246°C). Crucially, place a pizza steel or an inverted baking sheet into the oven while it preheats. This mimics the intense, even heat of a commercial oven and is key to getting that impressive pocket. Lightly flour some squares of parchment paper, just large enough for your pita rounds. Place the pita rounds onto these parchment squares.
Once your oven and baking surface are piping hot, carefully slide the pita (on its parchment paper) onto the pizza steel or hot baking sheet. Close the oven door quickly to trap the heat. Bake for a mere 2-4 minutes. You’ll witness the incredible spectacle of the pita ballooning up dramatically, creating that perfect internal pocket. It will turn light brown around the edges. Remove from the oven, peel off the parchment, and let cool slightly on a wire rack. These pitas are best enjoyed warm!
Expert Tips for Your Best Homemade Pita Yet
To ensure consistent success with your easy homemade pita bread recipe, keep these expert tips in mind:
- Don't Rush the Rise: Give your dough the time it needs to double. A slow, steady rise builds flavor and structure.
- Mind the Dough Consistency: Your dough should be soft, pliable, and slightly tacky, not dry and stiff or overly wet. Adjust with a tablespoon of flour or water if needed during kneading.
- High Heat is Your Friend: This is non-negotiable for both skillet and oven methods. A hot cooking surface sears the outside quickly, trapping steam inside and creating the puff.
- Avoid Overworking Shaped Dough: Once your pitas are shaped, handle them gently. Aggressive rolling or stretching can pop the air bubbles you worked so hard to preserve.
- Cover Cooked Pita: As soon as pitas come off the heat, stack them and cover them with a clean kitchen towel. This traps steam, keeping them wonderfully soft and flexible.
- Practice Makes Perfect: Don't be discouraged if your first few pitas don't puff perfectly. It's a learning curve, and even imperfect pitas are delicious!
Serving Suggestions & Storage – Enjoying Your Fresh Pita
The beauty of fresh, easy homemade pita bread: soft, fluffy, & better than store-bought, is its incredible versatility. It's the perfect canvas for countless culinary delights:
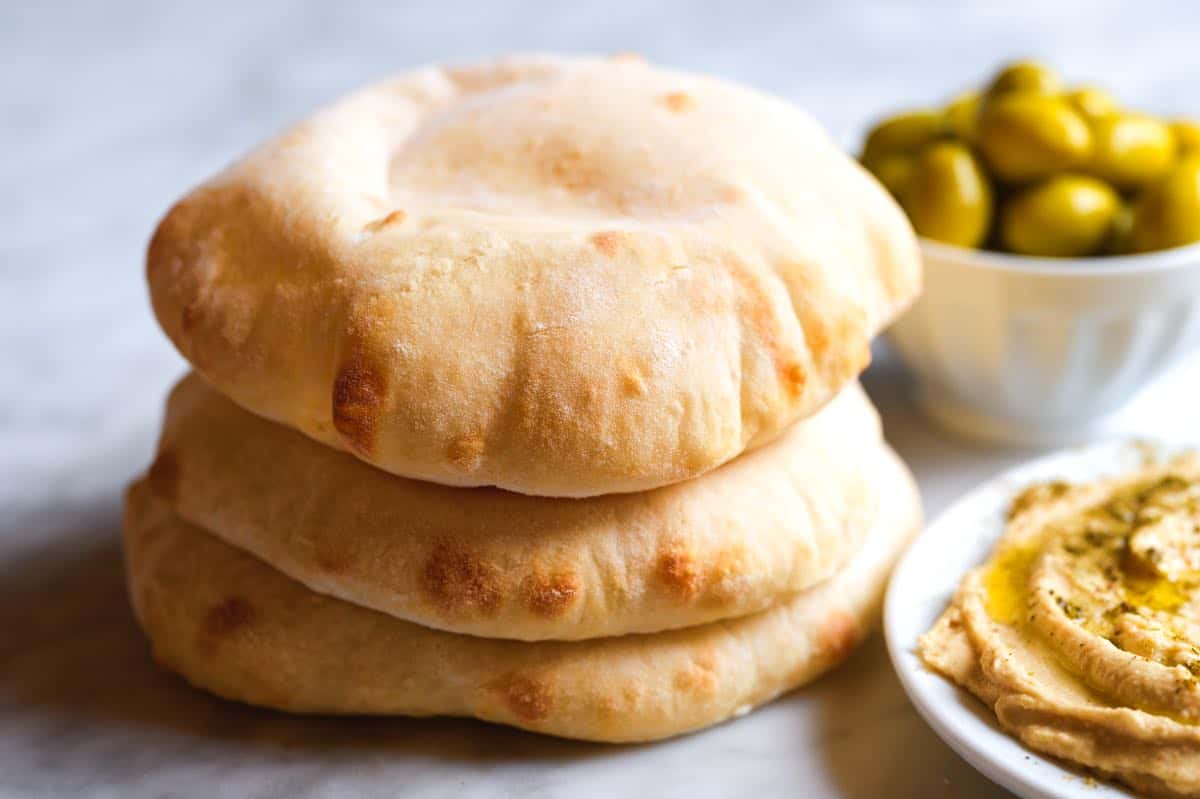
- Dipping Delight: Serve it warm with classic Mediterranean dips like creamy hummus, smoky baba ghanoush, cool tzatziki, or a simple olive oil and za'atar mixture.
- Sandwich King: Fill those beautiful pockets with falafel, shawarma, grilled chicken, fresh salads, or any of your favorite sandwich fillings.
- Mini Pizzas: Use pita as a quick and easy base for personal pizzas.
- Scoop for Stews: It's perfect for scooping up rich stews, curries, or shakshuka.
- Breakfast Booster: Enjoy it alongside scrambled eggs, feta cheese, and olives for a hearty breakfast.
Storage:
Fresh pita is best enjoyed the day it's made. However, you can store leftovers for a few days:
- Room Temperature: Keep pita in an airtight bag or container for 1-2 days.
- Refrigerated: It will last up to a week in the refrigerator, also in an airtight container.
- Freezer Friendly: Pita bread freezes exceptionally well! Layer cooled pitas with parchment paper, then place them in a freezer-safe bag. They'll keep for up to 3 months. Thaw at room temperature and reheat gently in a skillet, toaster, or oven.
Conclusion
There you have it – a comprehensive guide to mastering your own easy homemade pita bread recipe. From understanding the key ingredients to perfecting the cooking method, you now have all the knowledge to create soft, fluffy, and perfectly puffed pita right in your kitchen. The satisfaction of pulling a warm, aromatic pita from your oven or skillet is a culinary triumph that truly surpasses any store-bought alternative. So, gather your ingredients, set aside an afternoon, and prepare to embark on a delicious journey. Your taste buds (and your family) will thank you!
